

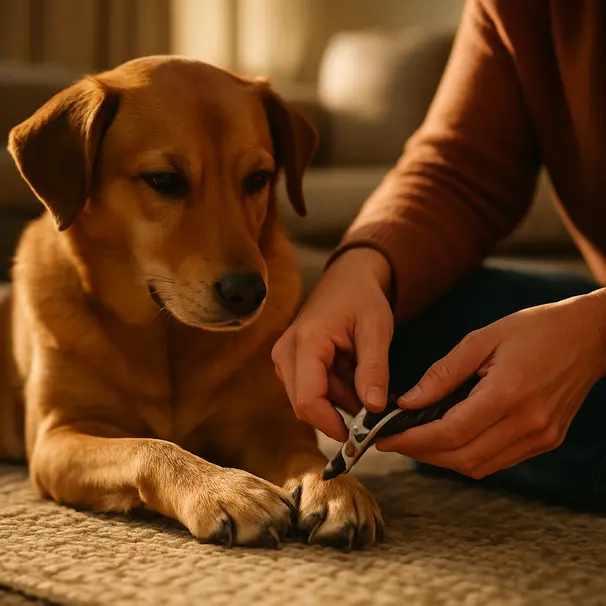
Trim your dog’s nails like a pro
Nail trims are one of those routine things that most dog owners dread at first, then grow to appreciate. A clean, regular trim keeps paws comfortable, helps posture, and may prevent snags and painful breaks. With a little patience, the right tools, and a gentle method, you can make nail care a low-stress, even bonding experience for you and your dog.
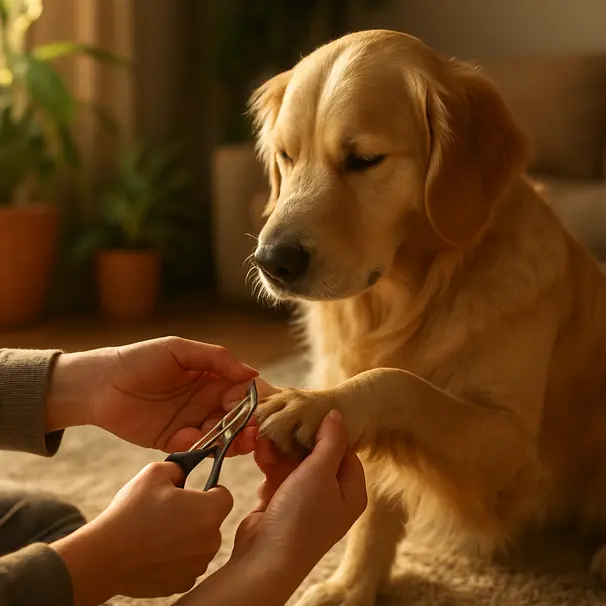
Why trimming matters
Long nails change the way a dog walks. They can press into paw pads, make nails catch on carpets, or even alter weight distribution over time. For some dogs, long nails can cause discomfort that looks like limping or reluctance to walk. Trimming regularly can help prevent these problems and make paw checks part of your routine health care.
Beyond comfort, regular trims make tucking paws into boots, checking for ticks, or washing feet easier. They also reduce the chance of accidental scratches to you or family members. You may prefer to have a pro do occasional trims, but learning the basics helps you keep things on track between appointments.
Tools you’ll want
Having the right kit makes the whole process smoother. You don’t need every gadget, but a few essentials will make a big difference:
- Nail clippers: Guillotine style or scissor style, pick a size that fits your dog’s paw. Bigger dogs need larger, sturdier clippers.
- Nail grinder: A rotary grinder smooths edges and helps with dogs who hate clipping sounds. Take time to get your dog used to it slowly.
- Styptic powder or cornstarch: For stopping any minor bleeding quickly and calmly.
- Treats: High value, small, soft treats that your dog loves.
- A towel or non-slip mat: Helps a nervous dog feel secure and prevents slipping.
Keep everything within reach before you start. Fumbling for tools disrupts the rhythm and can stress the dog.
Preparing your dog
Preparation is as important as the trim. Here are gentle steps that help most dogs relax:
- Choose a quiet, familiar spot with good light. A lap, a low couch, or the floor with a non-slip mat works well.
- Handle paws regularly outside of trimming time. Touch toes, press pads, and offer a treat. This reduces sensitivity when you actually trim.
- Use short, positive sessions. If your dog tolerates one claw, give a treat and stop. Build up slowly, even over several days.
- Keep a calm voice and move slowly. Dogs pick up on tension, so breathing and a soft tone help.
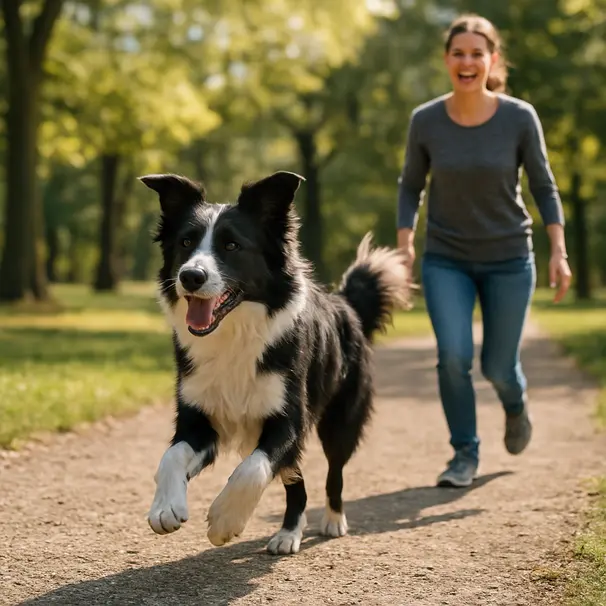
If your dog is anxious, try a short walk before trimming. A bit of play or sniffing time can make them noticeably calmer and more cooperative.
How to trim: quick step-by-step
These are safe, general steps. If you have a dog with health problems or very dark nails, consider asking a vet or professional groomer for a first demonstration.
1. Inspect the nail
Look for the quick, the sensitive area with blood vessels and nerves. In light-colored nails you can usually see a pinkish quick. In dark nails the quick is hidden, so proceed with extra caution and take small amounts off at a time.
2. Positioning
Have your dog sit or lie where you both feel comfortable. Hold the paw gently but firmly. For nervous dogs, sit beside them and cradle the paw in your hand, keeping the nail visible.
3. Trim a little at a time
Cut the tip of the nail at a 45-degree angle, away from the paw pad. Remove small bits and check frequently. It is safer to cut more often and less each time than to try and take big chunks off.
4. Smooth the edge
Use a grinder or a nail file to smooth sharp points. This reduces snagging and feels better for the dog.
5. Reward generously
After each successful nail or short session, give lots of praise and a tasty treat. Pairing the experience with good things helps dogs accept trims in the future.
Special tips for dark nails
Dark nails hide the quick, so never rely solely on visual cues. Try these tips:
- Trim tiny amounts and look at the cross-section after each snip. When the center dark dot becomes smaller and changes texture, stop and switch to filing.
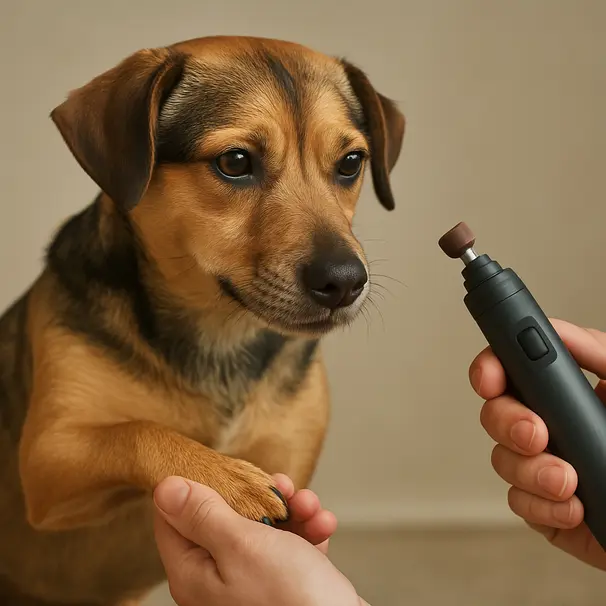
- Use a grinder to take the nail down slowly. Grinders remove material gradually and are easier to stop before reaching the quick.
- If you see a thin line of a different color or a dot in the middle, back off. That often indicates the quick is getting closer.
If you’re unsure, ask a groomer or vet to show you on one paw first.
Using a grinder safely
A nail grinder can be quieter in the long run, and great for smoothing edges. Introduce it slowly:
- Let your dog sniff the grinder while it is off and reward calm behavior.
- Turn it on at a distance so they hear it, then reward. Repeat until they seem comfortable with the sound.
- Touch the grinder briefly to the nail, then reward. Work up to longer touches.
- Keep the grinder moving to avoid heat buildup, and never press into the nail too long in one place.
Grinders can create dust, so work in a well-ventilated area or use a soft cloth to catch the filings.
If you clip the quick: stay calm
It happens to everyone. If you cut too far and the nail bleeds, follow these simple steps:
- Stay calm and reassure your dog. Your tone helps them relax.
- Apply styptic powder or cornstarch to the bleeding nail with pressure for a minute or two.
- Keep the paw elevated and quiet until bleeding stops.
- Offer a treat once bleeding has ceased, if your dog is calm.
If bleeding doesn’t stop after 15 minutes or the wound looks deep, contact your vet.
How often should you trim?
Most dogs need nail trims every 3 to 6 weeks. Active dogs who walk a lot on pavement may naturally wear nails down more, but regular checks are still helpful. Watch for clicking on floors, nails touching the ground, or changes in gait. Those are signs it’s time for a trim.
Training tips that help long term
- Make trims part of a routine. Regular short sessions reduce fussiness.
- Use high-value treats reserved just for grooming. That builds positive associations.
- Pair handling the paws with play. After a small trim, play a quick game to make the experience rewarding.
- Teach a “paw” cue so your dog offers the paw willingly. Reinforce with treats and praise.
Patience now pays off with calmer, quicker trims later.

When to ask a pro
If your dog resists strongly, has painful nails, recurrent bleeding, or a medical condition affecting paws, seek a professional. Groomers and vets are used to handling nervous dogs safely, and they can show you techniques to use at home.
Also consider professional help if you notice swelling, discharge, limping, or cracked nails. These signs may indicate infection or deeper problems that benefit from a vet check.
Quick troubleshooting and common questions
- My dog hates clippers: Try a grinder or break the session into tiny steps, rewarding between each small success.
- My dog pulls his paw away: Work on desensitization, touch the paw, then treat. If progress stalls, ask a trainer or groomer for help.
- The nail is split or cracked: Trim smooth edges, keep the area clean, and watch for infection. If the crack is deep, consult your vet.
A simple at-home checklist
- Gather clippers, grinder, treats, and styptic powder.
- Pick a quiet location with good lighting.
- Handle paws briefly before trimming.
- Trim small amounts, check often, and file edges.
- Reward and end on a positive note.
Final note: keep it kind and consistent
You don’t have to be perfect, and you won’t always get through a full session. The aim is progress and comfort. Every gentle touch, every calm session, helps your dog learn that nail trims are manageable. If you’re ever unsure, a friendly groomer or vet can show you techniques and help build confidence.
Trimming nails is a small but meaningful way to care for your dog. With practice, patience, and a few treats, you can handle nails like a pro and keep those paws happy for walks, cuddles, and all the adventures ahead.